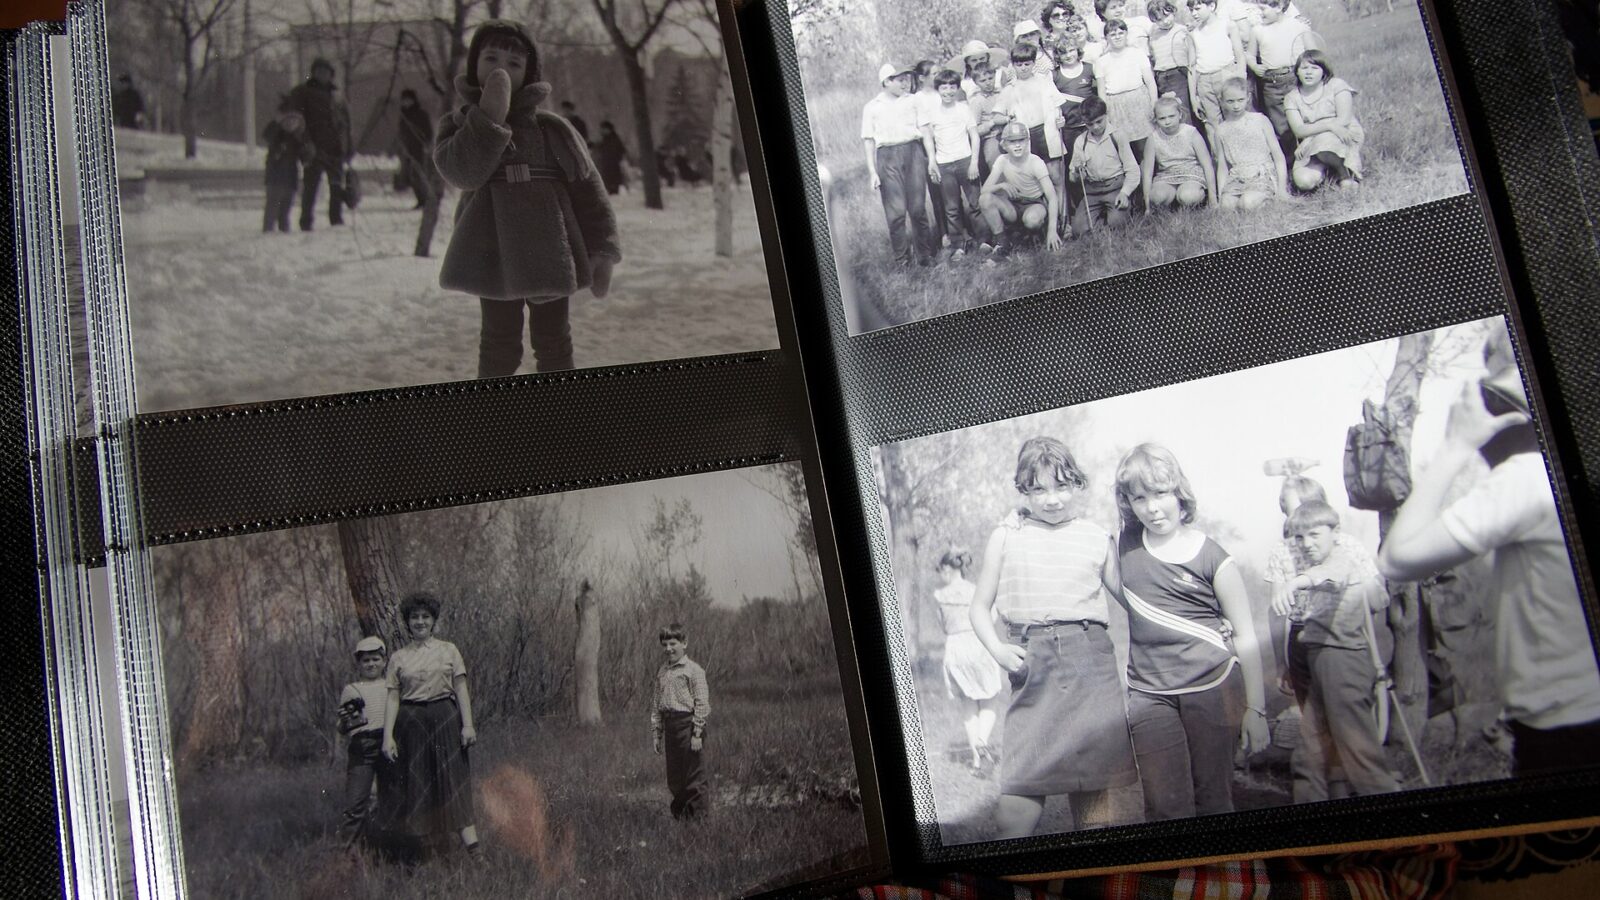
Somewhere in a closet there’s a shoebox. Inside are your grandparents on their wedding day, a great-aunt nobody remembers clearly, and a kid in a cowboy hat who turned out to be your dad. Half the prints are faded, a few are cracked, and one has a coffee ring right across someone’s face.
A few years ago, fixing those meant hiring a retoucher. Today you can restore old photos with AI on a phone or laptop in an afternoon. Scratches disappear, blurry faces sharpen, and black-and-white snapshots can even gain color.
But there’s an art to it. Push the AI too hard and Grandma stops looking like Grandma. This step-by-step guide shows you how to get the improvement without losing the person.
1. Scan or photograph the print in even light at high resolution.
2. Save an untouched master copy.
3. Use an AI tool to repair scratches, then enhance faces gently.
4. Colorize only if you want to, and treat colors as a guess.
5. Compare with the original, keep both, and back up in two places.
What AI restoration can (and can’t) do
AI restoration tools are trained on huge numbers of images, so they’ve learned what faces, fabric, skies and paper damage usually look like. That lets them make educated guesses about what’s missing.
| Problem | How well AI handles it | Watch out for |
|---|---|---|
| Dust, specks, small scratches | Very well | Tiny details like freckles removed as “dust” |
| Cracks and creases | Well, if they don’t cross key features | Smudgy patches over eyes or mouths |
| Fading and color shifts | Very well | Over-saturated “new” look |
| Blurry or tiny faces | Often impressive | Invented features that don’t match the real person |
| Missing pieces (torn corners) | Fair for backgrounds | Made-up objects or people |
| Colorizing black-and-white | Plausible results | Colors are a guess, not history |
The key idea: AI doesn’t recover lost information. It fills gaps with what’s statistically likely. That’s fine for a scratch across a sky. It matters a lot more for the shape of your great-grandfather’s nose.
Step 1: Pick and prep your photos
Start small. Choose five to ten photos that matter most, rather than trying to process the entire shoebox at once. You’ll learn what works and avoid burnout.
- Handle prints by the edges. Clean, dry hands, or cotton gloves for fragile ones.
- Dust gently. A soft brush or a puff of air from a blower works. Never wipe with a damp cloth or use cleaners.
- Don’t force stuck photos. If a print is glued into an album or stuck to glass, scan it where it is instead of prying it loose.
- Note what you know. Jot down names, dates and places on a separate sheet now, while you remember to ask relatives.
Step 2: Digitize the print properly
The better your scan, the less the AI has to guess. This step quietly decides most of your final quality.
Option A: A flatbed scanner (best)
A flatbed gives even light and no distortion. Clean the glass, scan in color even for black-and-white prints (it captures subtle tones), and choose a high resolution. Around 600 dpi is a common choice for standard prints; go higher for small wallet-size photos you plan to enlarge.
Save the master as a high-quality file such as TIFF or a maximum-quality JPEG. Don’t apply the scanner’s automatic “restore” options; you want a faithful copy to work from.
Option B: Your phone (good enough for many photos)
- Lay the print flat on a dark, matte surface near a window, out of direct sun.
- Turn off the flash, which creates glare on glossy prints.
- Hold the phone directly above, parallel to the photo, so the edges stay square.
- Fill the frame and tap to focus on a face.
- Take a few shots and keep the sharpest. Dedicated photo-scanning apps can also reduce glare by combining several shots.
Step 3: Keep an untouched master
Before you touch any AI button, make a copy. Name it clearly, like 1958-wedding-grandparents-original, and never edit that file.
This matters more than it sounds. AI tools improve every year. A master scan lets you redo the restoration later with better software, and it preserves the historical record if an edit goes too far.
Step 4: Repair damage with AI
Now the fun part. Most restoration tools work in layers, and it’s best to go in this order.
- Scratch and dust removal. Many tools have a one-click option. For a big crack, use an object-removal or healing brush in small strokes rather than one giant swipe.
- Fix fading and color casts. Restore contrast and neutralize yellow or magenta tints. Aim for “a well-kept print,” not “a brand-new photo.”
- Crop and straighten. Trim damaged borders only if they add nothing. Some people like to keep the scalloped edges for character.
Which tool? Built-in editors with object erasers handle small fixes well, and several dedicated restoration apps and desktop programs add one-click scratch removal and face enhancement. Our roundup of the best free AI photo editors is a good starting point.
Step 5: Enhance faces, gently
Face enhancement is where AI shines and where it most often goes wrong. It can turn a soft blur into crisp eyes and lips, but it may also give everyone the same modern, airbrushed look.
- Use the lowest strength that helps. If your tool has a slider, start low and stop as soon as the face reads clearly.
- Compare to other photos. Hold the result next to other pictures of the same person. Does the jaw, smile and eye shape still match?
- Ask someone who knew them. A parent or grandparent will spot “that’s not quite him” instantly.
- Watch backgrounds. Faces in a crowd may get sharpened into strangers. Sometimes it’s better to enhance only the main subject.
Step 6: Colorize (optional)
Seeing an ancestor in color can be deeply moving. It can also be misleading if you forget that the AI is guessing. It doesn’t know Grandpa’s tie was maroon; it picks colors that seem likely.
If you know real details from family stories, such as a red dress or blue eyes, some tools let you adjust colors by hand. Either way, label colorized versions clearly and always keep the black-and-white original alongside.
Step 7: Save, label and back up
You’ve done the hard work, so protect it. The Library of Congress’s guidance on preserving digital photos recommends keeping at least two copies, storing them in different places, using descriptive file names and checking every so often that the files still open.
- Keep three versions: original scan, restored, and colorized (if you made one).
- Add names, dates and places to the file name or the photo’s description field.
- Store one copy on your computer and another on an external drive or cloud service.
- Put the original prints back in an acid-free box away from heat, light and damp basements.
Privacy and honesty tips
Family photos often show living relatives, children and home addresses. If you’re using an online service, check whether it stores uploads or uses them for training. Our AI photo app privacy checklist walks you through what to look for.
When you share restored images, a short note like “restored and colorized with AI” keeps the family record straight. Future relatives deserve to know which details are original. It also helps people who are learning how to spot AI-generated images online.
Project ideas for your restored photos
- A then-and-now print of grandparents next to a recent photo.
- A small photo book for a milestone birthday or anniversary.
- A shared family folder where cousins can add names and stories.
- A decade-by-decade timeline. Our look at yearbook photo trends through the decades can help you date mystery pictures by hair and clothing.
FAQ
Can AI restore a badly damaged photo?
It can do a lot, especially with scratches, fading and minor tears. When large parts of a face are missing, the AI has to invent them, so the result may not look like the real person. In those cases, a skilled human retoucher using family references may do better.
Is it better to scan or photograph old prints?
A flatbed scanner gives the most even, detailed result. A phone works well for many prints if you use soft window light, no flash and hold the camera parallel to the photo.
Are AI-colorized photos historically accurate?
Not necessarily. The AI chooses colors that look plausible, not ones it knows were real. Treat colorized versions as an artistic interpretation and keep the original black-and-white image.
Should I throw away the original prints after scanning?
No. Prints are the true originals and may hold details future tools can recover better. Store them safely in an acid-free box in a cool, dry place.
Restoring old photos with AI is one of the kindest things you can do with modern tech. Go slowly, keep your originals, and check every face with someone who remembers. The goal isn’t a perfect picture. It’s a clearer window into the people who came before you.