You know the feeling. You take 37 selfies, scroll through them, and every single one looks a little off: shiny forehead, mystery double chin, nose that seems bigger than it is in real life. You put the phone down and decide the camera simply doesn’t like you.
Here’s the good news: the camera is not the problem. Learning how to take a good selfie comes down to a handful of choices about light, angle and distance that anyone can master in an afternoon.
And if you’re taking selfies for AI filters, like aging effects or retro yearbook portraits, those same habits matter even more. A better input photo means a far better result.
Lighting: the single biggest upgrade
If you change only one thing, change your light. Good light smooths skin, brightens eyes and makes even an older phone look impressive. Bad light makes even the newest phone look cheap.
Find soft, even light
The easiest great light is a window. Stand facing it, a step or two back, so daylight falls evenly across your face. Overcast days are secretly perfect: clouds act like a giant diffuser.
Outdoors, look for “open shade”: the shadow of a building or tree where you can still see bright sky. You get soft light without squinting.
Avoid the three classic light traps
- Overhead light. Ceiling lights and midday sun cast shadows under your eyes, nose and chin. It’s the “tired DMV photo” look.
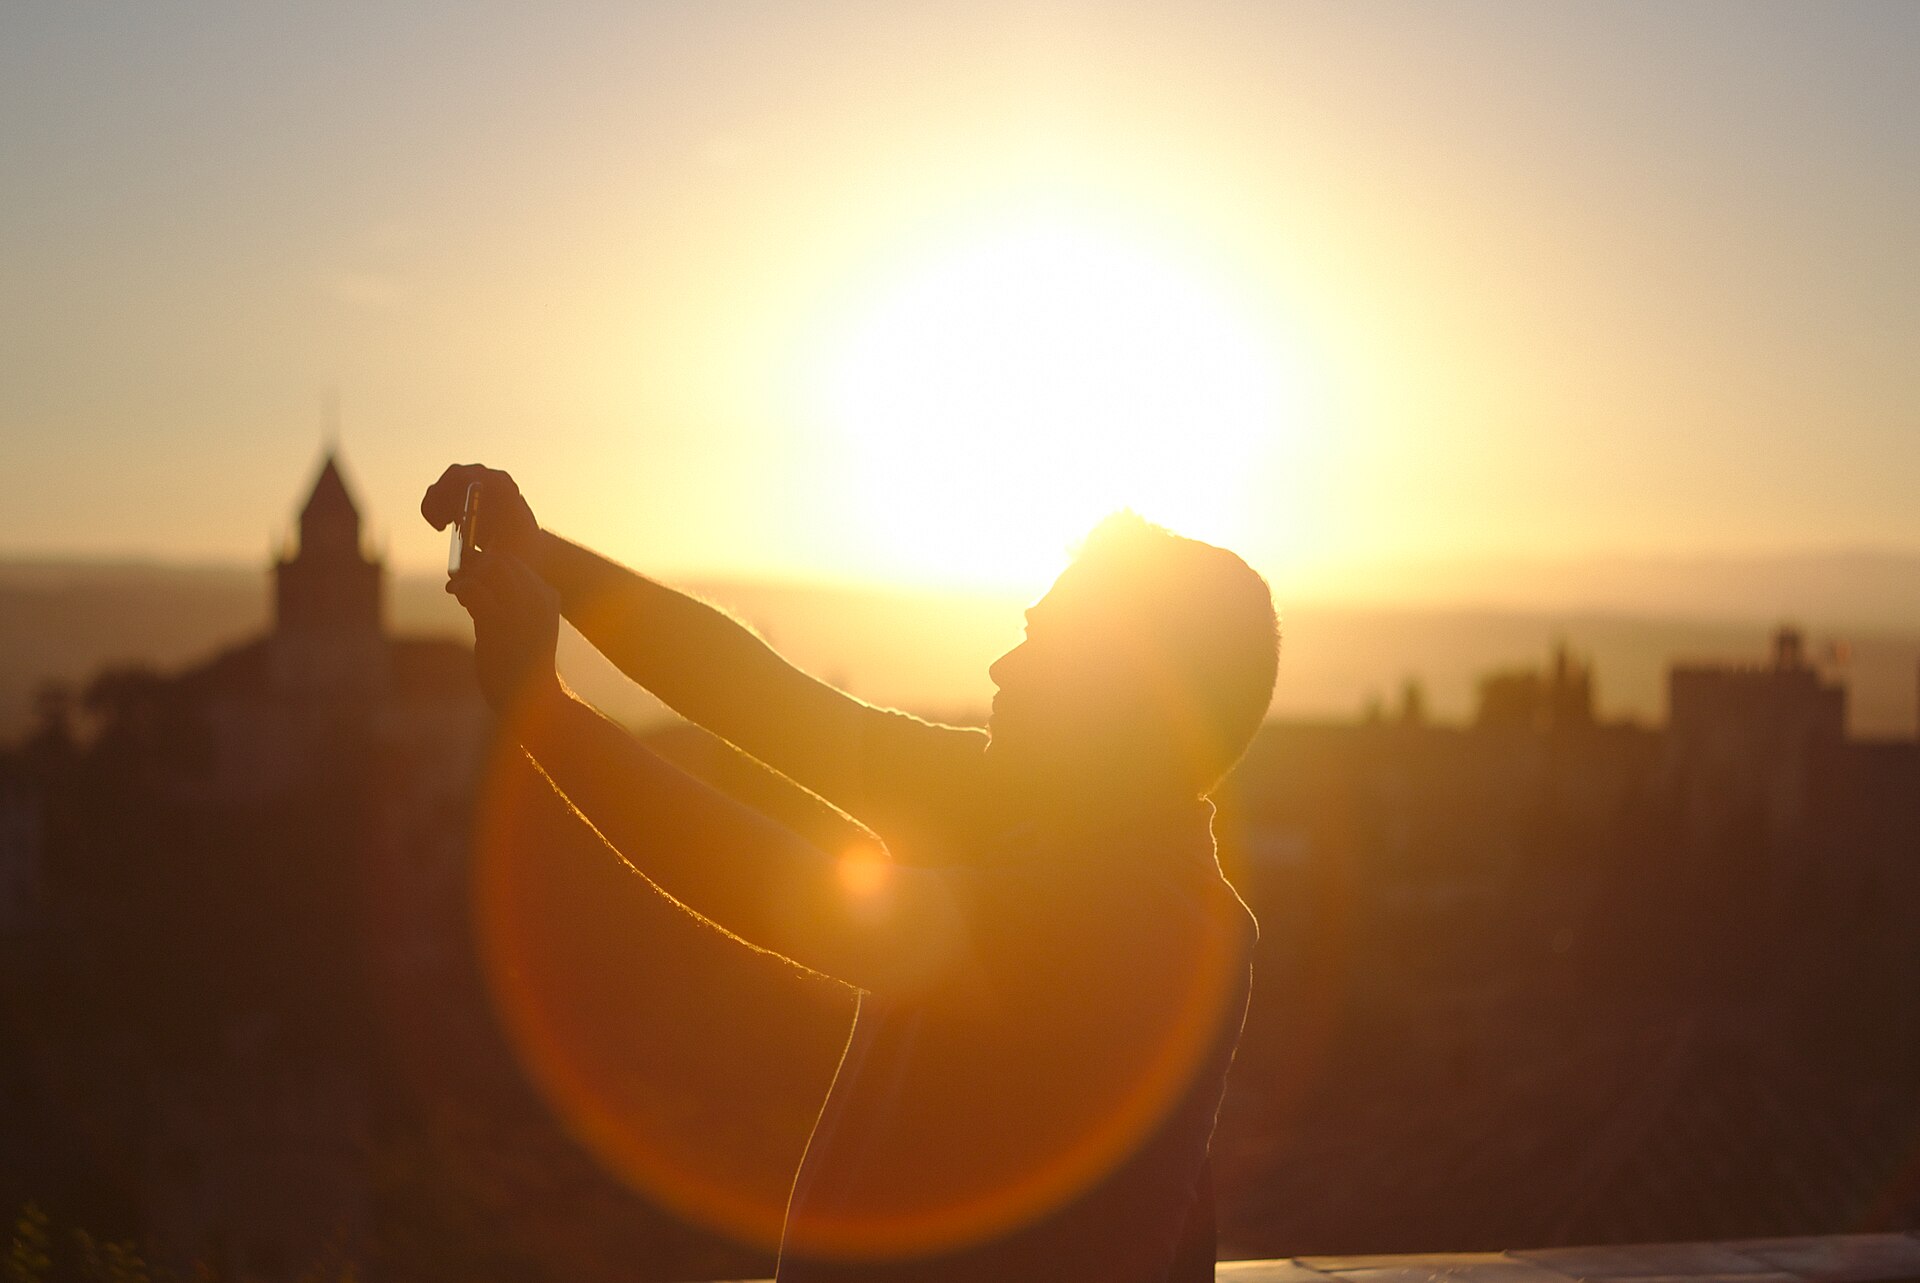
- Strong backlight. A bright window or sunset behind you turns your face into a dark silhouette. Great for mood shots, bad for showing your face.
- Mixed light. Warm lamps plus cool daylight can give your skin odd color casts. Pick one main light source.
Golden hour and night selfies
The hour after sunrise and before sunset gives warm, flattering light. Turn so the sun is in front of you or to the side, not directly behind.
At night, find a light source to face: a lit shop window, a streetlamp, even a friend’s phone screen held off to one side. If you take a lot of evening or indoor selfies, a small ring light or LED panel helps a lot. Our guide to the best ring lights and phone tripods covers what to look for.
Angles and distance: why your nose looks bigger
Front cameras use wide-angle lenses. When the phone is very close to your face, whatever is nearest the lens, usually your nose, looks bigger, and your ears seem to shrink away. That’s lens distortion, not your face.
- Back up. Hold the phone at a comfortable full arm’s length, or use a selfie stick or tripod.
- Crop later. It’s better to shoot slightly wider and crop than to shove the camera into your face.
- Use the 2x option if your phone has one. Some phones offer a slightly zoomed front view that looks more natural.
The angle that flatters almost everyone
Hold the phone at eye level or just slightly above. Shooting from below emphasizes your chin and nostrils. Shooting from way above can look dated and makes your head seem oversized.
Then try the trick portrait photographers use: push your forehead and chin slightly forward toward the camera, then tilt your chin a touch down. It feels strange but defines your jawline instantly.
Find your side
Most faces aren’t perfectly symmetrical. Take a few shots turned slightly left and slightly right and compare. Many people have a side they prefer, often the one where their part falls or their smile lifts more.
Camera settings most people ignore
You don’t need a pro app. A few built-in settings make a real difference.
- Clean the lens. Your front camera lives against your cheek and pocket lint. A quick wipe with a soft cloth fixes “hazy” selfies.
- Tap to focus and brighten. Tap on your face before shooting, then slide the brightness control up or down.
- Turn on grid lines. They help you keep eyes level and the horizon straight.
- Use the timer or a remote. Pressing the shutter often shakes the phone. A 3-second timer gives you a steady, relaxed shot.
- Try the rear camera. It’s usually sharper. Prop the phone up, use the timer, and check the results.
- Use portrait mode wisely. Background blur looks great, but check the edges of your hair and glasses for odd cutouts.
- Shoot a burst. Taking several photos in a row helps you catch the frame where your eyes are open and your smile is real.
Expression and posture: looking like yourself
Stiff smiles are the most common selfie problem. Your face tenses up the moment you know the camera is watching.
- Breathe out before you shoot. It drops your shoulders and relaxes your jaw.
- Think of something funny. A real memory creates a real smile that reaches your eyes.
- Look at the lens, not the screen. Looking at yourself on screen makes your eyes look slightly down.
- Lift your posture. Sit or stand tall, shoulders back and down. Slouching shows in your neck.
- Try a soft “almost smile.” Slightly parted lips and relaxed eyes often look more natural than a full grin.

Backgrounds that don’t steal the show
Before you shoot, glance at what’s behind you. Laundry piles, bright exit signs and a lamp growing out of your head pull attention away from your face.
Simple walls, greenery and open sky work well. Step a few feet away from the wall so it falls softly out of focus. And skip anything that reveals more than you’d like, such as your house number or your kid’s school name.
Selfie tips specifically for AI filters
AI tools like aging filters, baby-face effects and yearbook generators need to “read” your face before they can transform it. What makes a selfie look nice to people isn’t always what helps the AI, so here’s how the two compare.
| Choice | For posting | For AI filters |
|---|---|---|
| Angle | Slight turn, your best side | Mostly straight-on, both eyes clearly visible |
| Light | Moody or golden is fine | Even and bright, no harsh shadows |
| Beauty filter | Up to you | Off: the AI needs real skin texture |
| Accessories | Sunglasses, hats, anything goes | Remove glasses and hats if you can |
| Hair | Styled however you like | Off your forehead and eyes |
| Expression | Big laugh, silly face | Neutral or gentle smile |
| Framing | Creative crops | Head and shoulders, centered |
If a filter asks for several photos, vary the angle and background a little but keep them recent and unfiltered. That’s the secret behind the best results in the AI yearbook photo trend and most realistic AI age progression images.
Curious why these details matter so much? Our explainer on how AI face filters work shows how the software maps your features before changing them.
Editing: a light touch wins
A little editing helps; a lot of editing gets noticed. Start with brightness, warmth and a slight crop. Then decide if you need anything else.
- Brighten shadows slightly instead of pushing overall exposure.
- Warm up cool indoor light a touch so skin looks healthy.
- Use spot-healing for a single blemish rather than smoothing your whole face.
- Keep skin texture: completely poreless skin reads as fake.
Many free tools now include gentle AI fixes for blur and lighting. Our list of the best free AI photo editors highlights which ones keep things natural.
FAQ
Why do I look different in selfies than in the mirror?
Two reasons. You’re used to your mirrored face, so a non-mirrored photo looks slightly “wrong.” And wide-angle front cameras held close distort your features. Hold the phone farther away and the difference shrinks.
What’s the best time of day for selfies?
Golden hour, shortly after sunrise or before sunset, is the most flattering outdoors. Indoors, any time you can stand facing a bright window works well. Avoid harsh midday sun overhead.
Should I mirror my front-camera selfies?
It’s personal preference. Mirrored selfies look like what you see in the mirror, so many people prefer them. Unmirrored shows how others see you. Text in the background will only read correctly unmirrored.
How do I take a selfie for an AI filter?
Face soft, even light, look straight at the lens, keep your expression relaxed, remove sunglasses and hats, and turn off beauty filters. A sharp head-and-shoulders shot gives the AI the most accurate picture of your face.
Great selfies aren’t about having perfect features. They’re about light that flatters you, a camera held at the right distance, and a moment where you actually feel like yourself. Try one tip a day this week and watch your camera roll change.